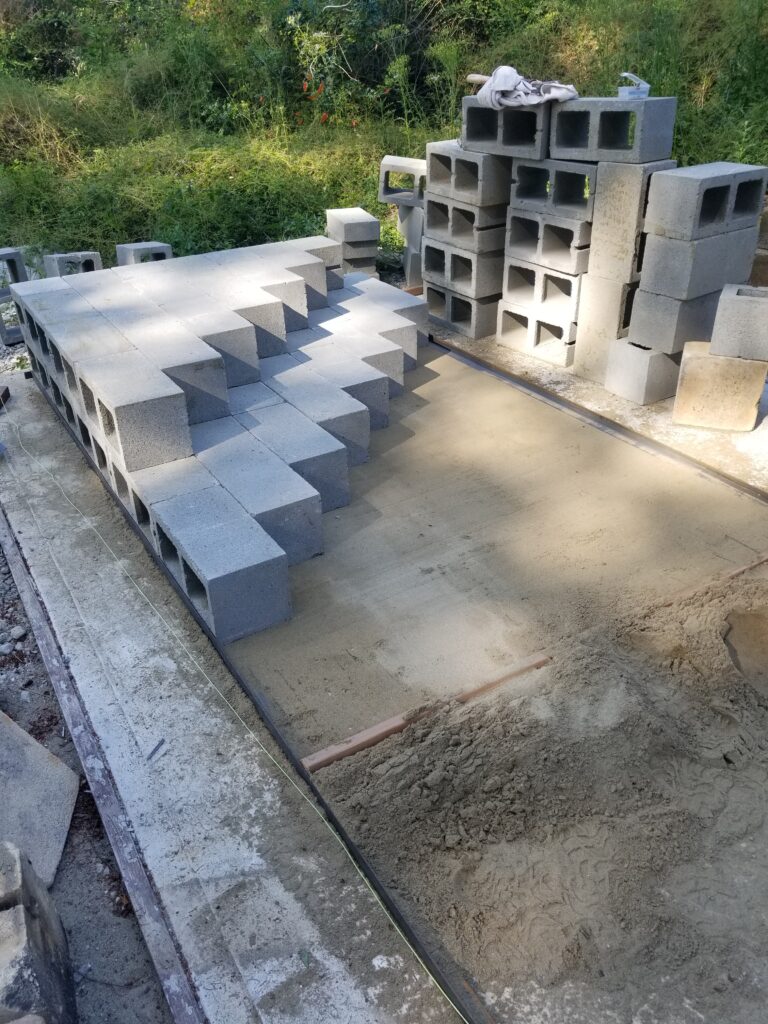
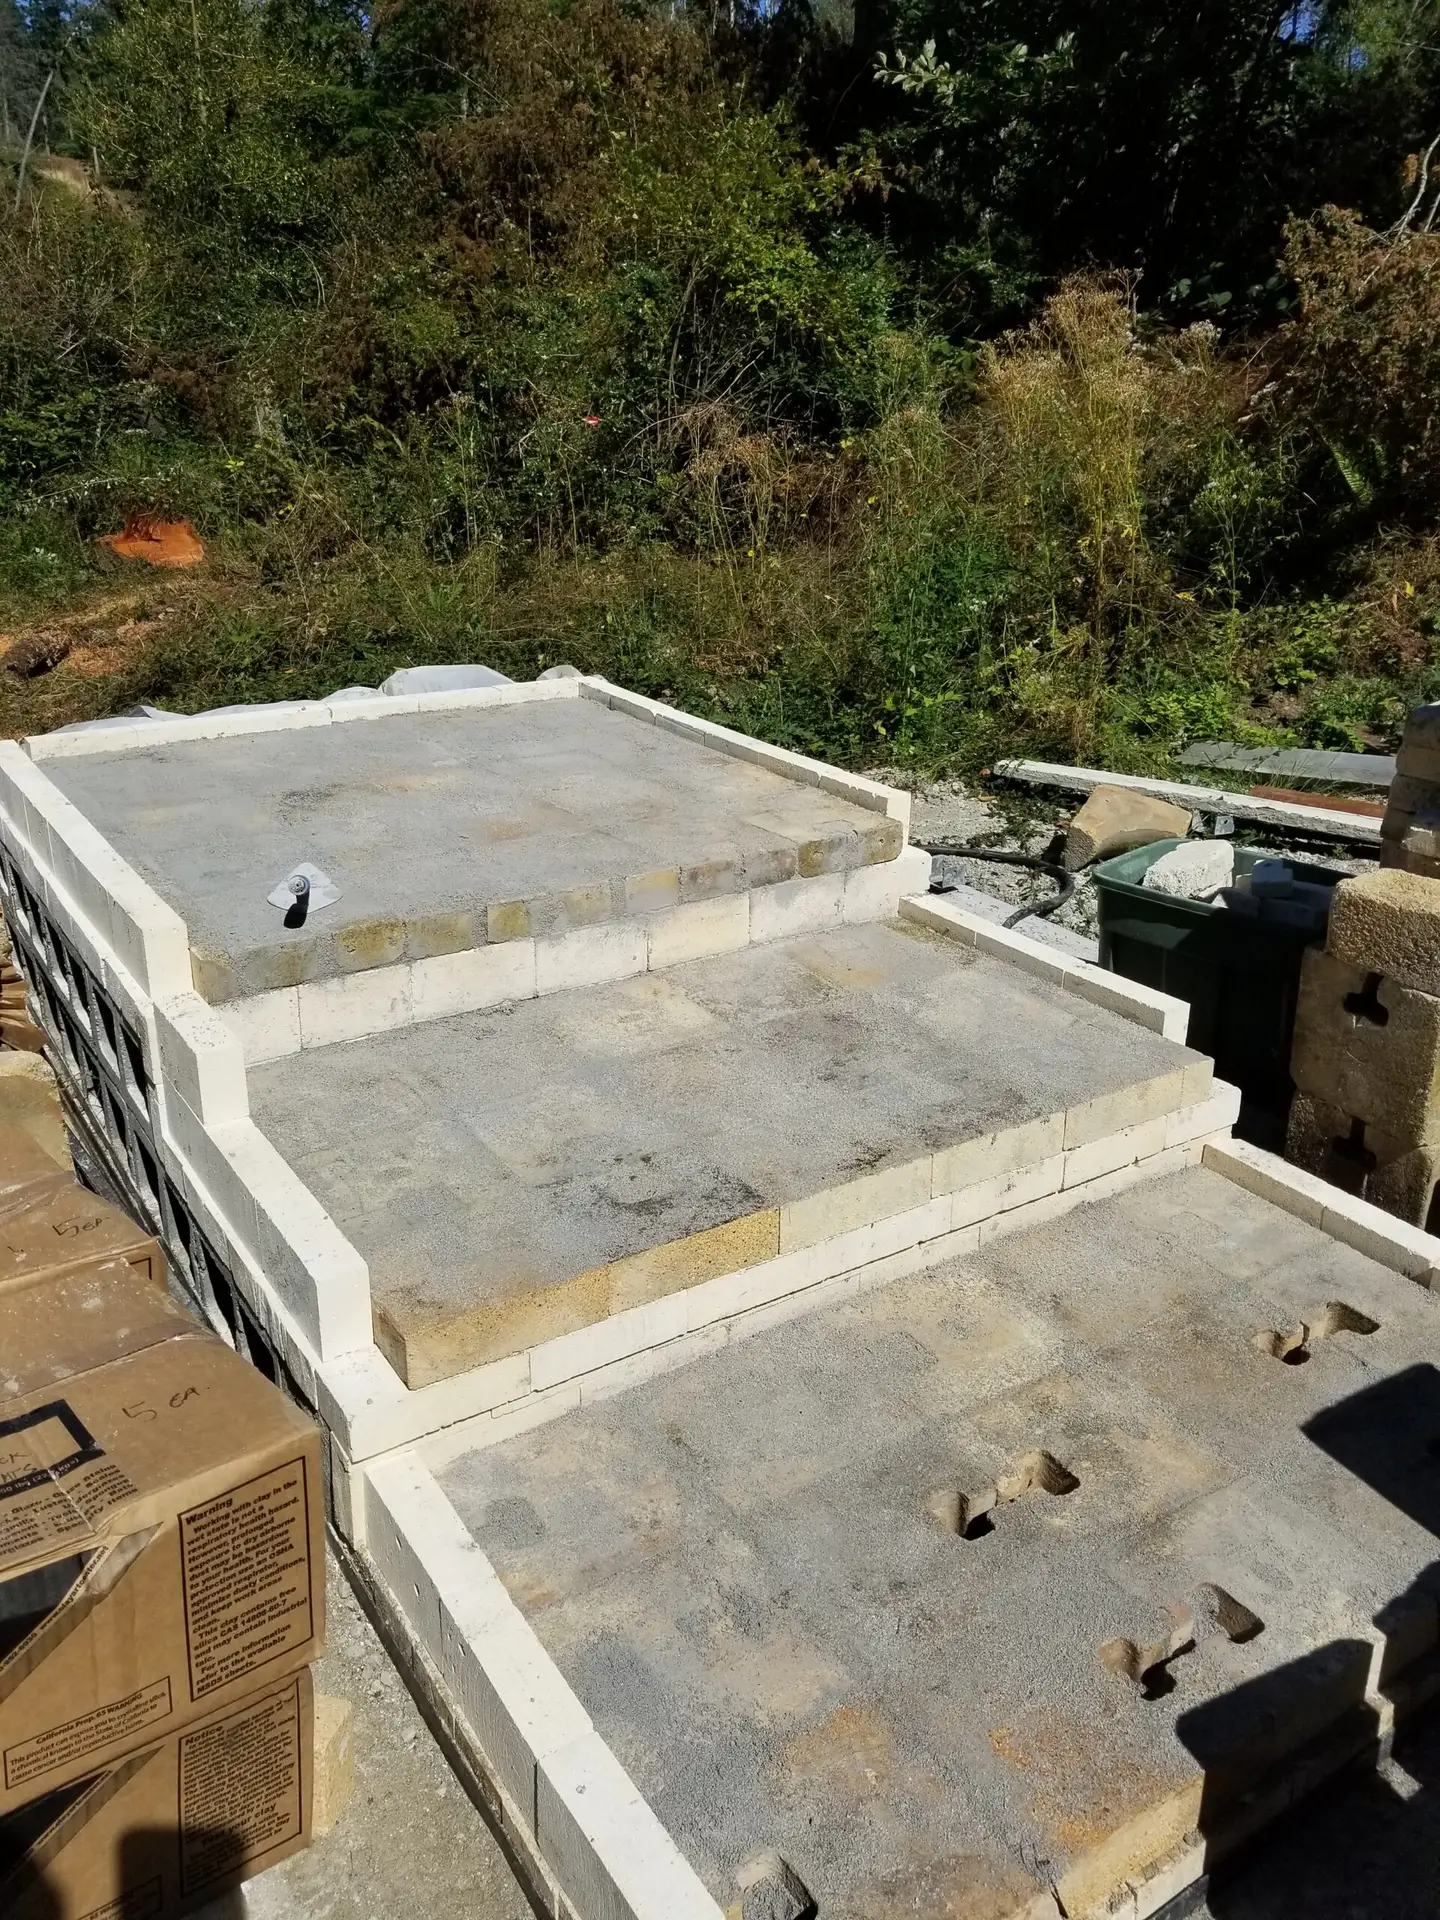
Building the Kiln

Steps in Creating a Bourey Box Kiln

Chronicling the build of the kiln over 2 years. 

Slab and Base

The slab was cast and a thin level of sand screeded to make sure the cinder blocks were fully supported. Cinder blocks are always turned on their side so that heat doesn't accumilate in them causing degradation.
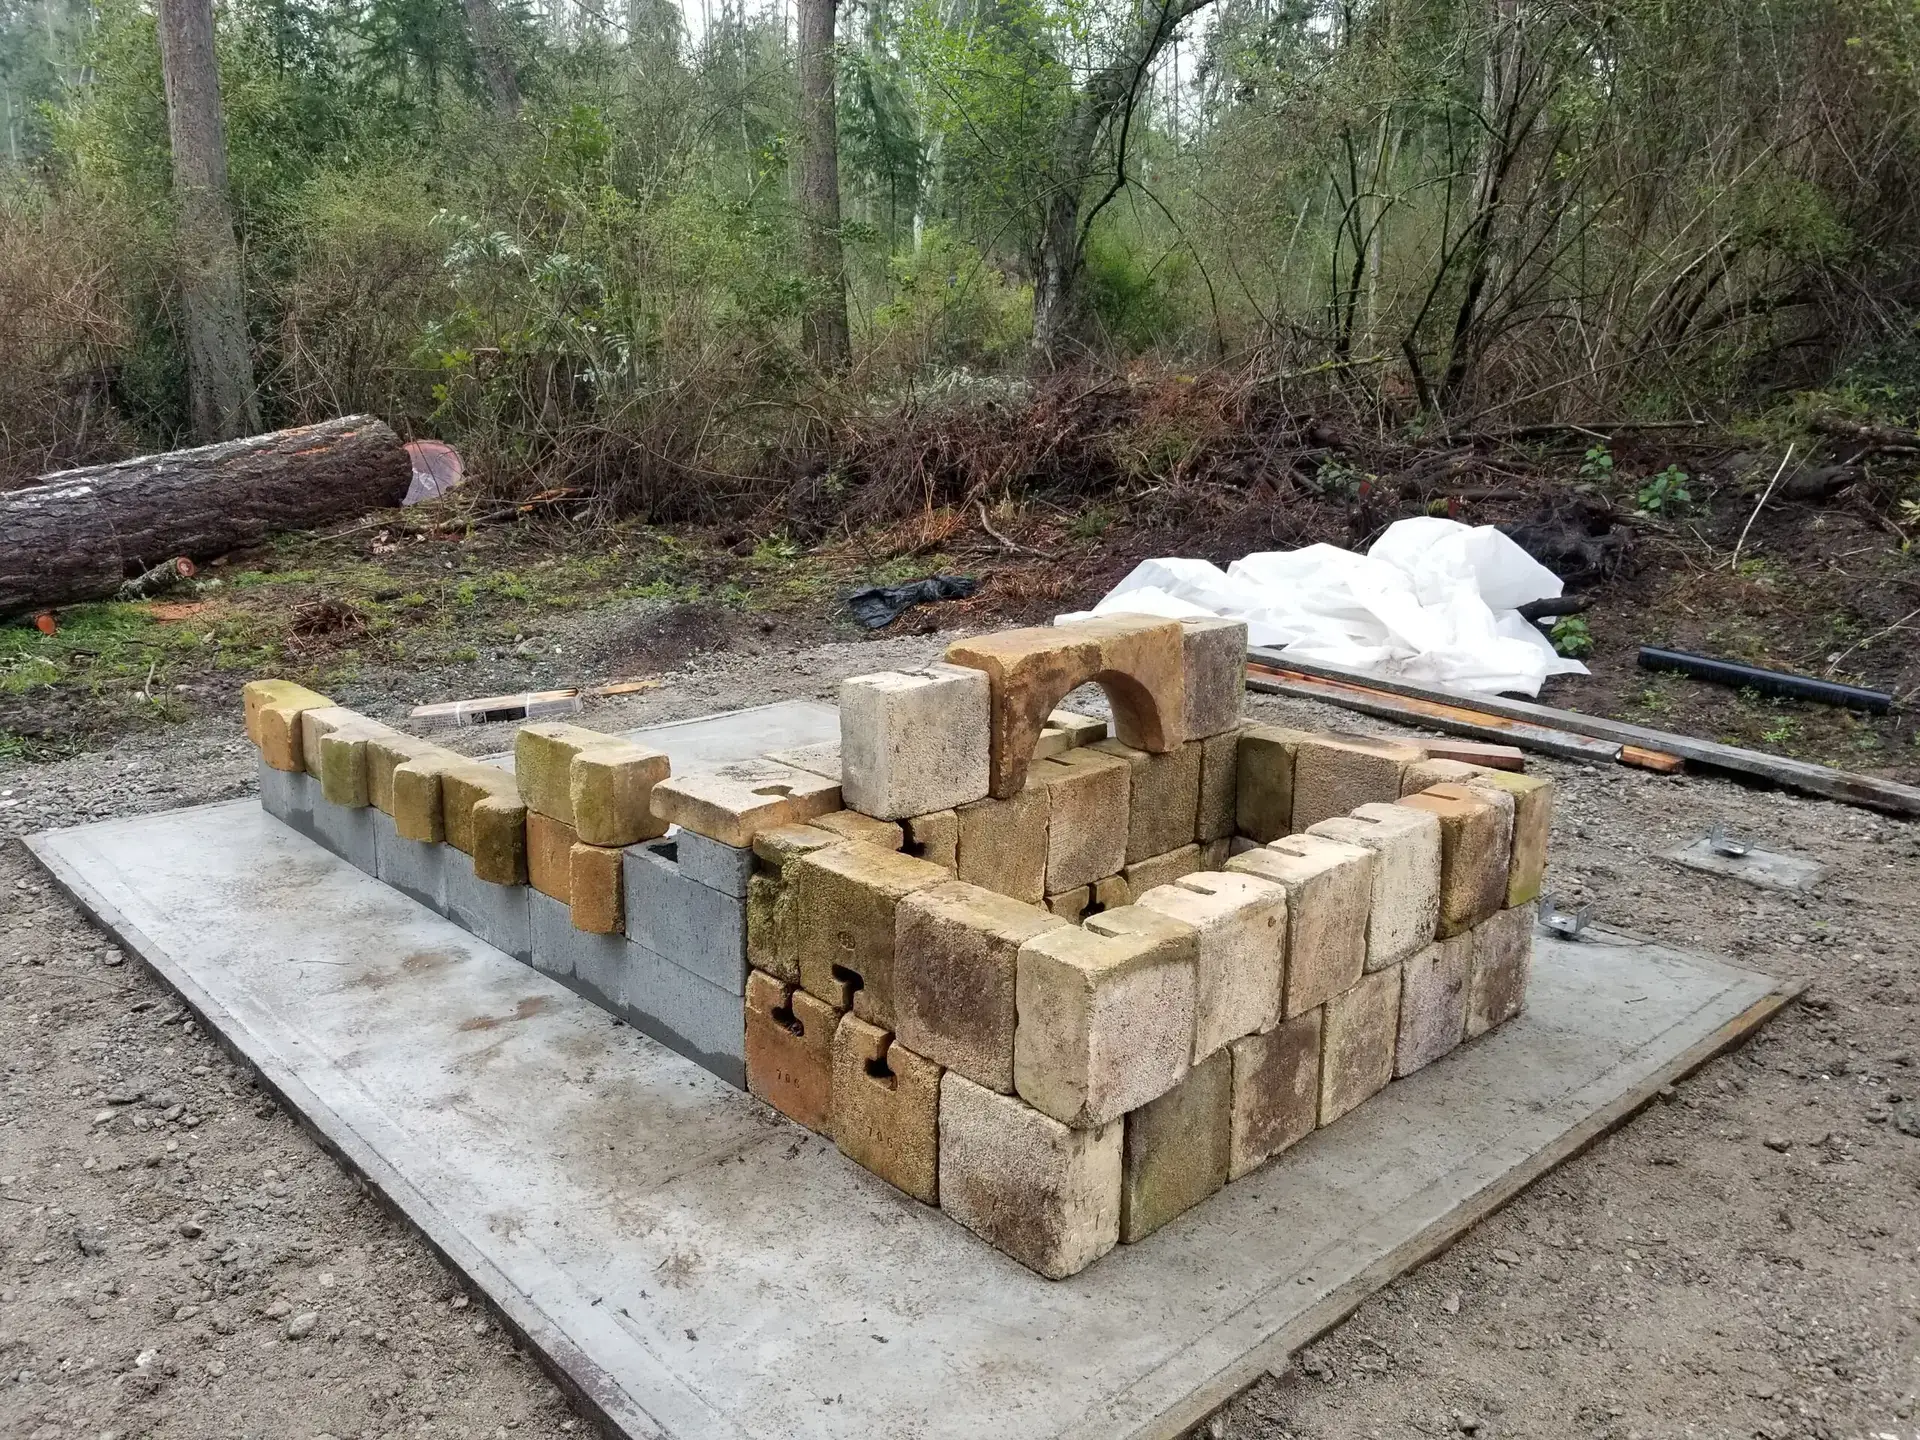
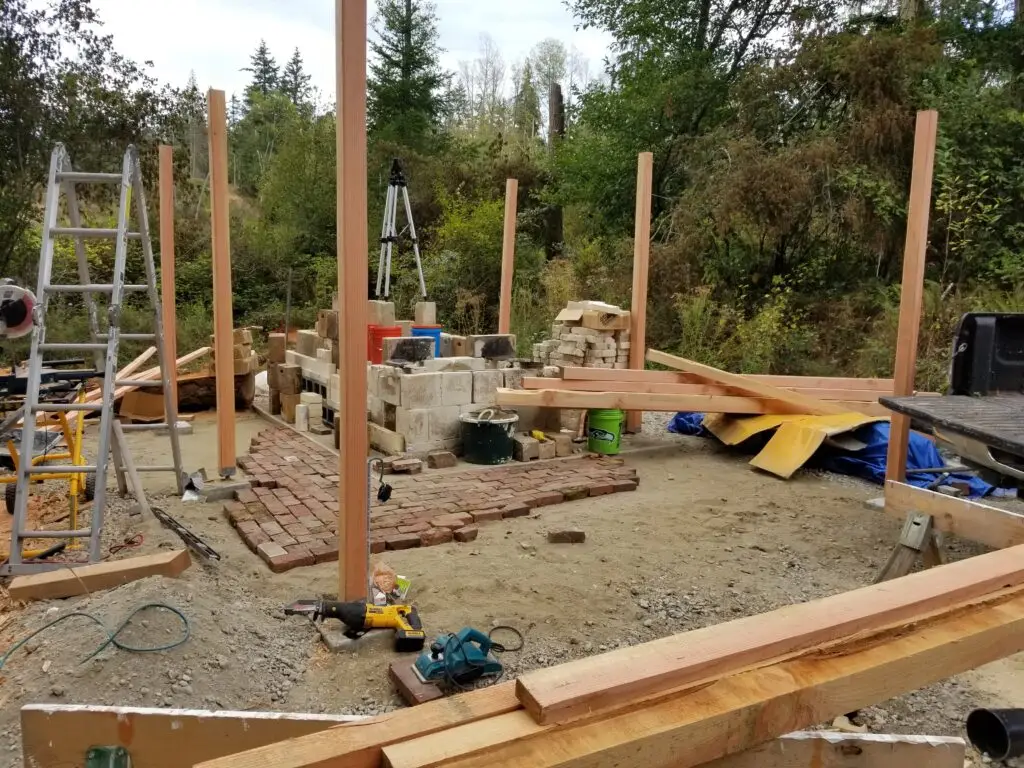
Dry stacking

The large bricks I got for free were dry stacked in various configs to see what would be the best, and the plan modified. Chuck Hines was invaluable as a consultant on design flaws. If he wasn't there, the kiln never would have worked
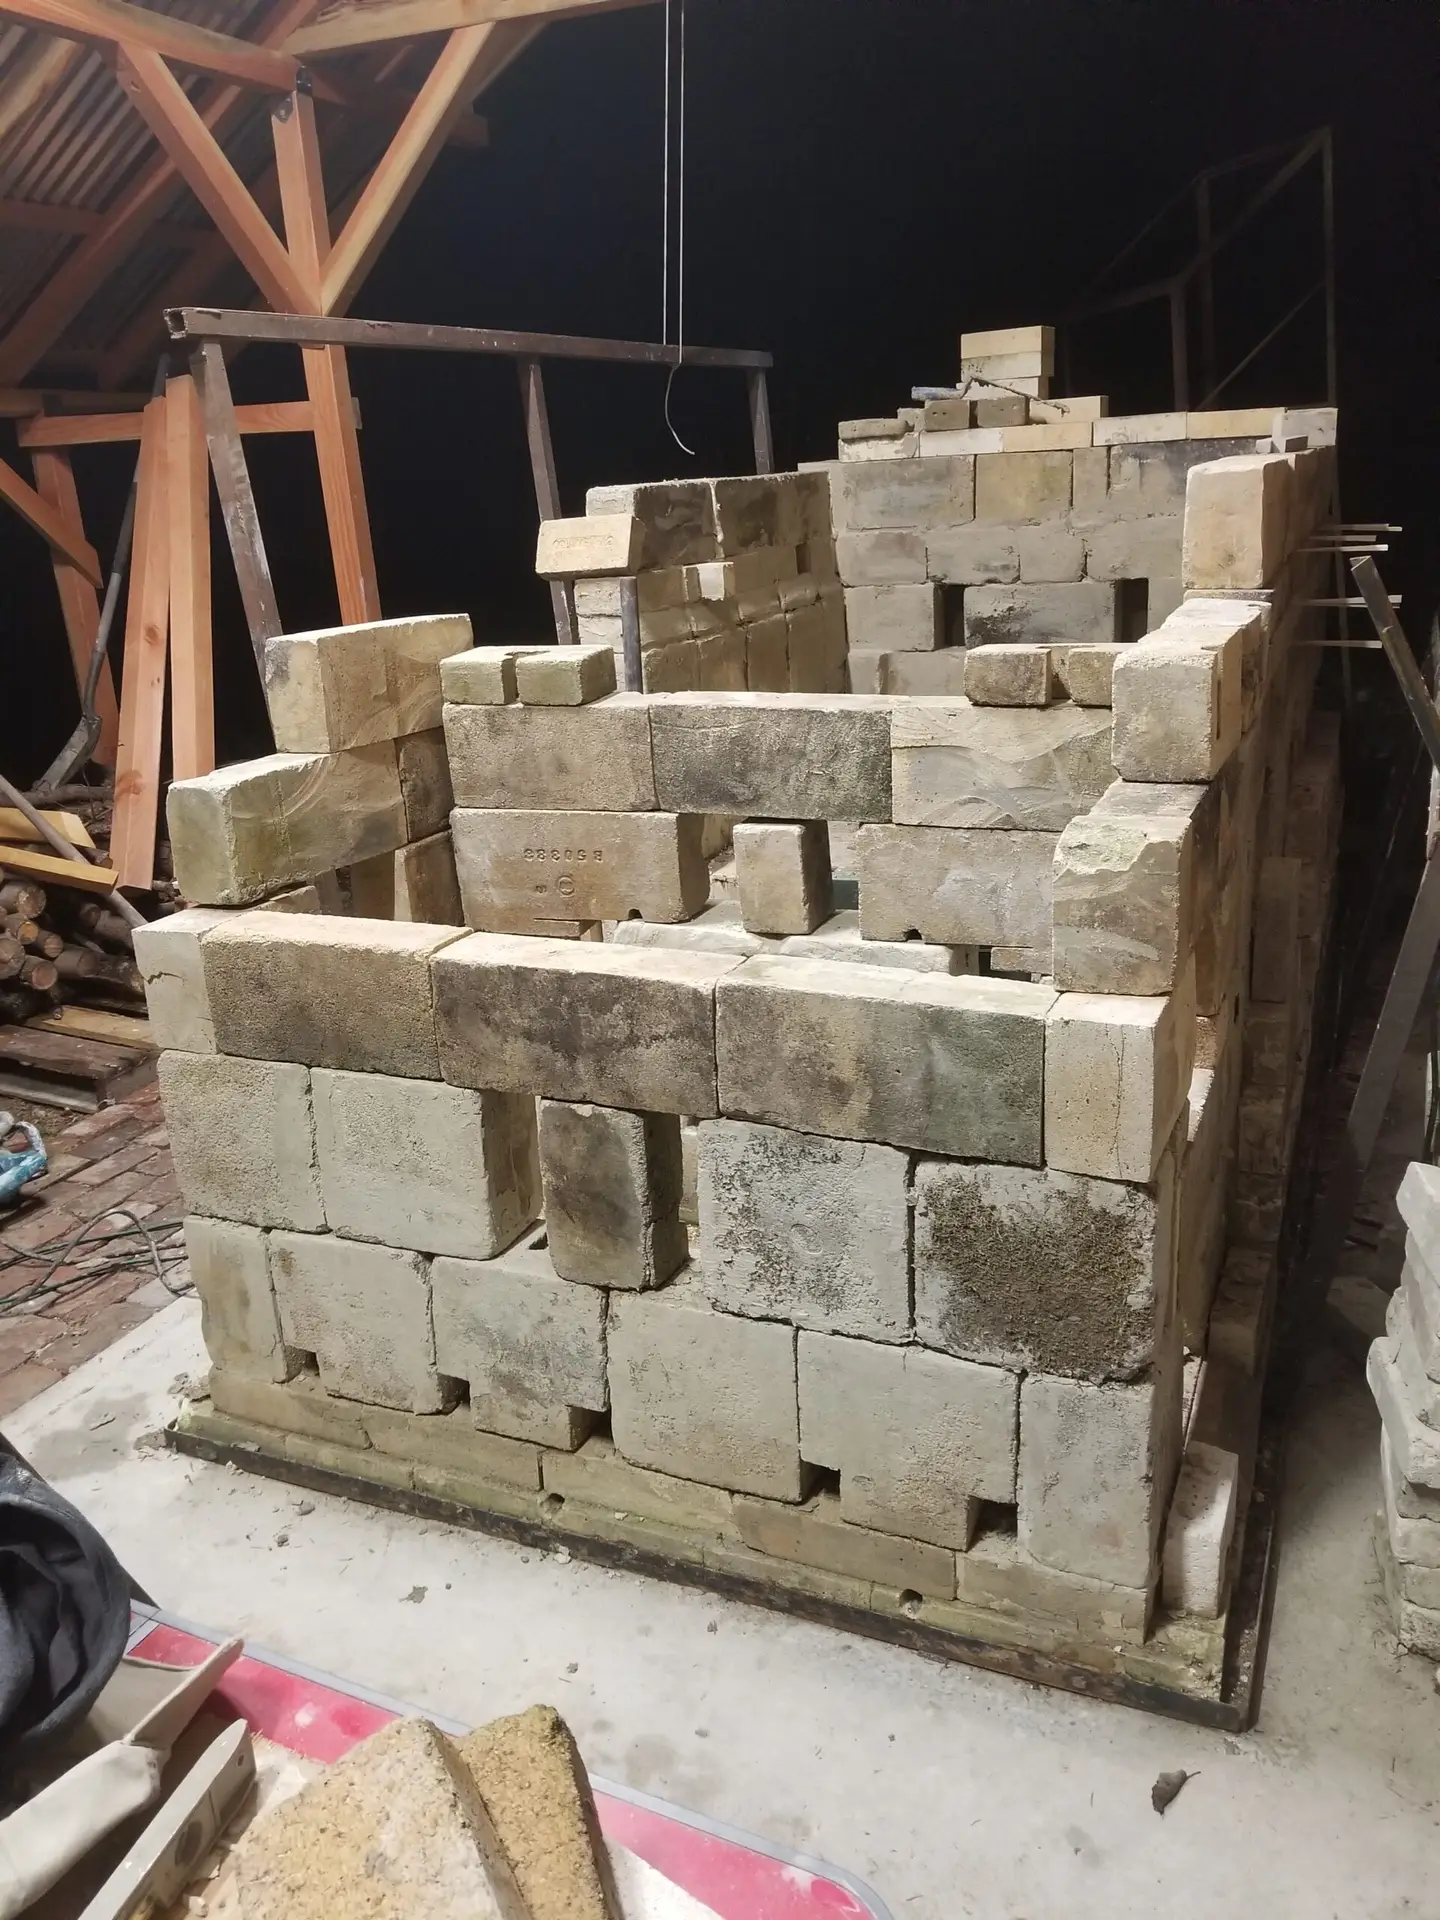
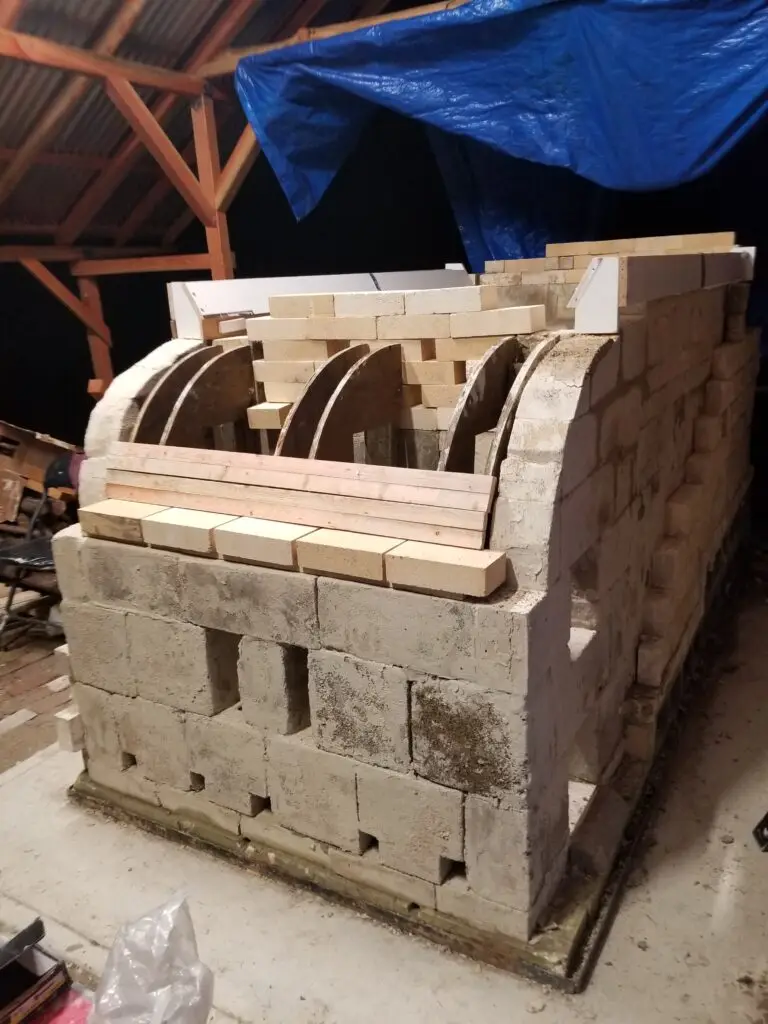
Exterior walls

The side walls were built up to final height, and the buttressing steel welded in place to support.

Bricks

Fire bricks were source free from a boiler repair company that got them at an auction, but discovered that they could not use them. Assorted bizarre shapes and sizes caused us to build a sprung arch, as it was the best use of them.

Laying the arch

the outside of the arch support walls had a skew layer cast in place. Then the arch form was put into place and the arch built. The final keystone was cast in place in one continuous line front to back. This was then treated by heating according to manufacturer's guide.

Basic design

A modified Bourry Box design

Covered Jars

Lids made from wood turned on a lathe, beach combing stones used for handle